Cascadeur Loop Animation
Updated: 2026-06*
1. What This Page Covers
How to build a loopable animation in Cascadeur. Using a jump animation as the worked example, we set up key poses and inbetween interpolation to produce a loop.
Reference tutorial
Other reference videos
- Creating a Walk Cycle in Cascadeur (UPDATED)
- Run a cycle in Cascadeur using only two poses and AutoPhysics
- How to animate a walk cycle in Cascadeur
2. Cascadeur Setup
- Save the project
- Load CASCY from Home
3. Jump Animation (video 0:52–2:05)
Important: In this exercise we do not use Physics Assistant. The loop is built from key poses and interpolation alone.
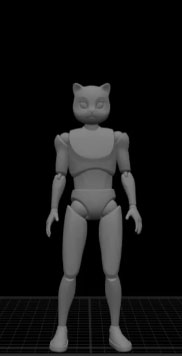
3.1 Idle pose (frame 0)
This is just practice, so you can use CASCY’s default pose as-is.
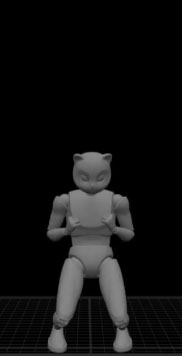
3.2 Crouched pose (frame 15)
Operating tip: If your view starts behaving like a rubber-band selection mode, clicking another application briefly tends to clear it (apparent bug). Use double-click for select-all where applicable.
Key adjustments:
- Lower the pelvis
- Round the back
- Lower the head, tuck the chin
- Rotate the inside of each hand toward the body (rotate the wrist in local coordinates)
- Tuck the elbows
If the feet come off the ground, lock the toe tips with R.
Hand-built version:
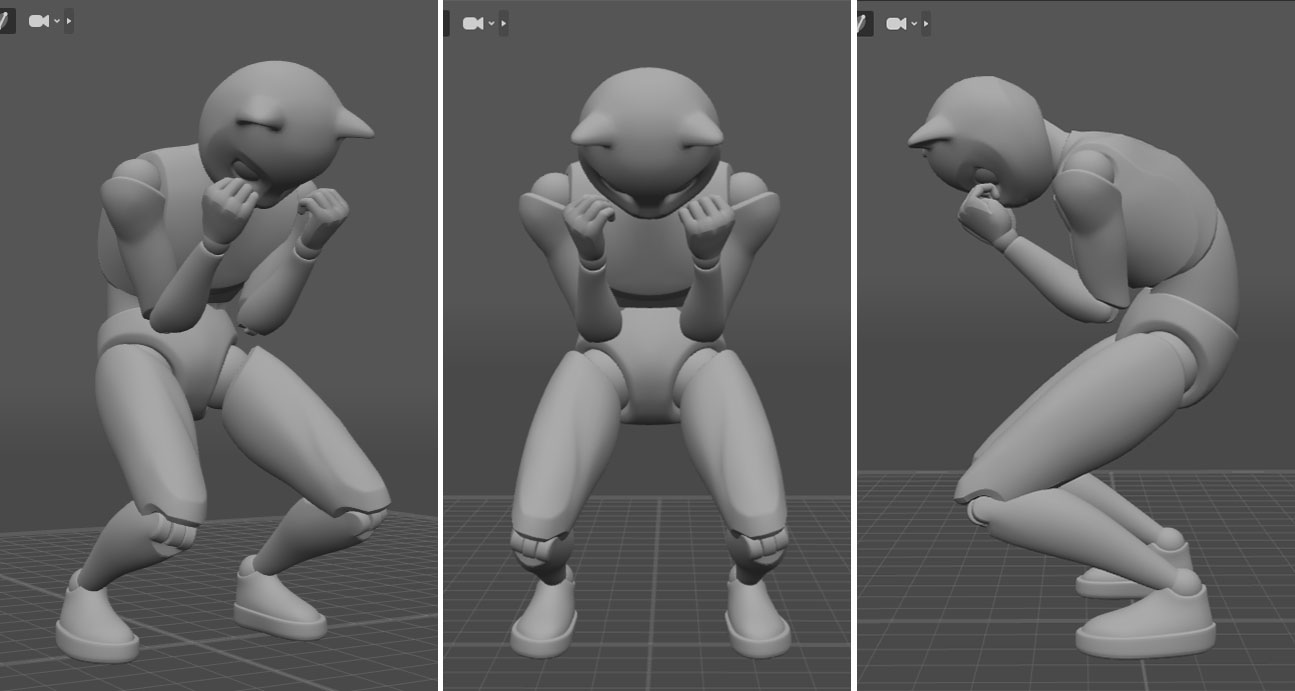
Optional: hand animation
- Close the hands into fists
- Enable
AutoPosing: Finger, then move the index finger in local coordinates (adjust the thumb separately) - Copy/paste for fingers does not work in AutoPosing Mode (fingers fall out of the selection); use Box Controller Mode
- AI interpolation is unreliable for fingers — use Bezier manually
References:
- Posing Fingers in Cascadeur | AutoPosing for Fingers
- Backflip Animation in Cascadeur for beginners | Follow Along Tutorial
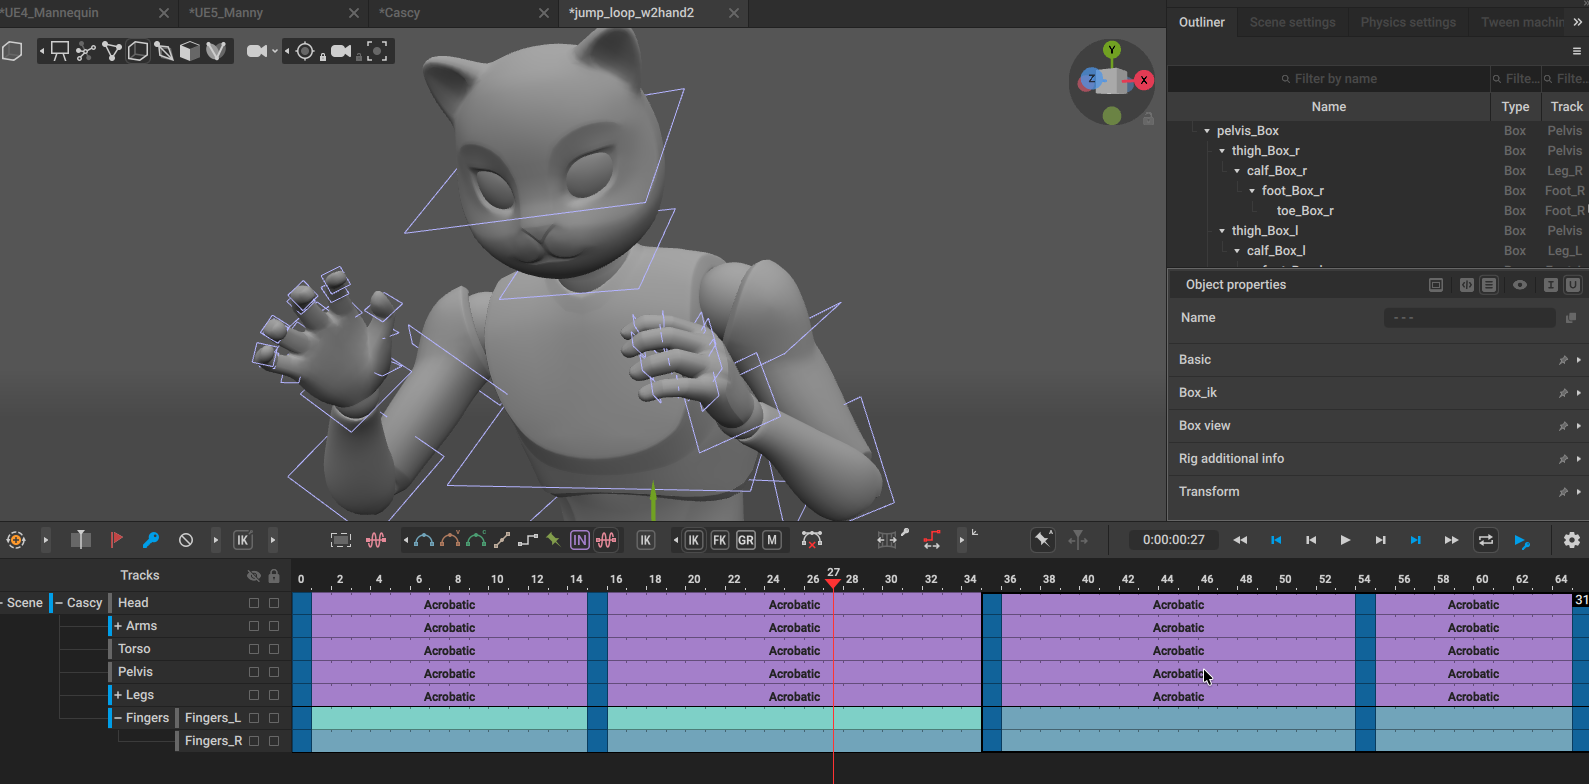
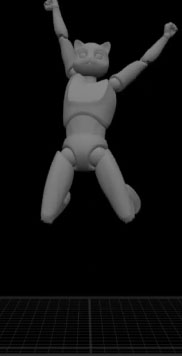
3.3 Jump pose (frame 35)
Copy/paste the frame 0 pose to frame 33.
Selecting all controllers
- AutoPosing Mode sometimes can’t select-all at frame 0 (reason unclear)
- Workaround: double-click the Pelvis to select all controllers
- Alternative: switch to Point Controller Mode,
Cmd + Ato select all, then copy/paste
After pasting, the controllers are fixed; release with Shift + Z. Direction
controllers are not released — release them manually if needed.
Use the center of gravity to lift the character into the air. Two Viewport mode is helpful here.
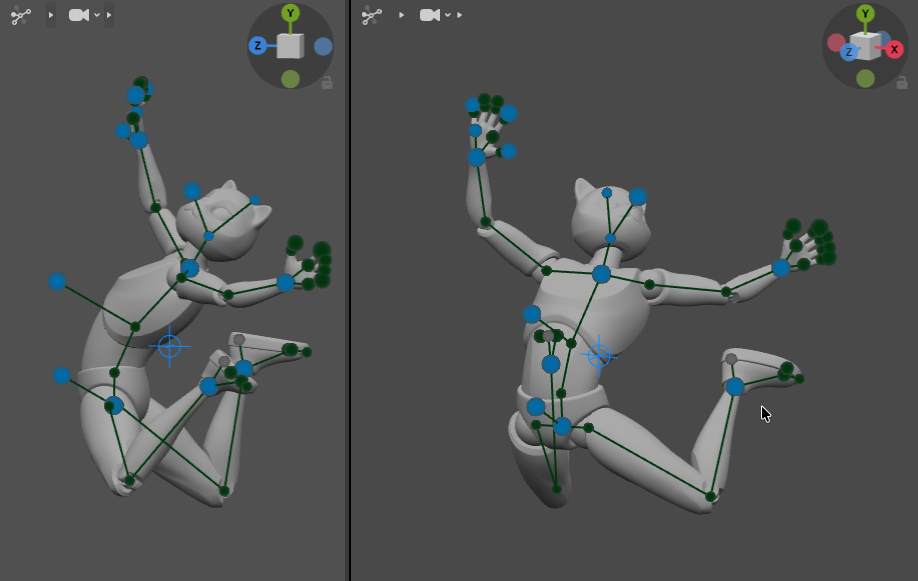
3.4 Mirror the keys (set up the loop)
- Copy frame
0 → 65 - Copy frame
15 → 45
This produces the loop structure: idle → crouch → jump → crouch → idle.
3.5 Inbetween
- Detailed interpolation operations are covered in class
- Target around 120 frames total
Unresolved: The sudden belly compression after the jump is still under investigation.
3.6 Applying to Blender
The workflow for exporting the FBX and applying it in Blender is covered on a separate page.
4. (Conceptual Aid) How a Loop Works
The essence of a loop is “the first and last frame have the same pose AND the same velocity”.
- Make the first and last key poses identical (just copy)
- Structure the middle so the first half and second half mirror each other in timing — this gives a smooth, natural loop almost for free
- Match the velocity vectors at takeoff and landing to eliminate discontinuity
Next Steps
- Cascadeur Acrobatic Backflip — single-shot acrobatic move
- Cascadeur Advanced Techniques — weapons, parkour, pair animation
- Cascadeur Retargeting to Blender via mixamo