3D City Visualization with PLATEAU
Updated: 2026-06*
1. What PLATEAU Is
PLATEAU is Japan’s Ministry of Land, Infrastructure, Transport and Tourism’s project to realize a digital twin of Japan’s cities. Buildings, land, and roads are organized as 3D city model data and made publicly accessible.
Official: https://www.mlit.go.jp/plateau/about/
Detailed 3D models currently exist mainly in urban areas. Local areas are still being populated, but national-level promotion of urban data utilization has begun, and adoption is expected to grow.
Reference: What 3D city models enable — PLATEAU (Japanese)
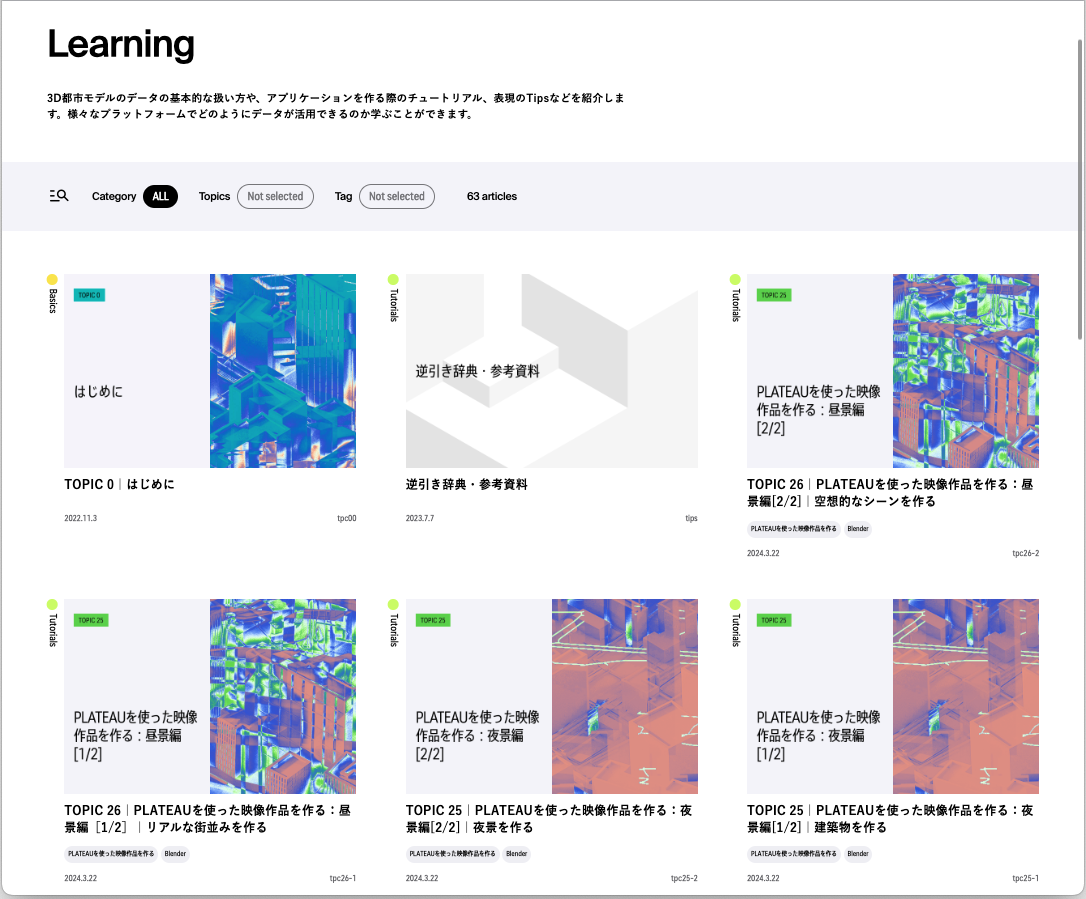
Beyond the database itself, PLATEAU publishes guides for Unity, Unreal Engine, and TouchDesigner usage:
https://www.mlit.go.jp/plateau/learning/
2. The Exercise
2.1 Overview
- The main work is understanding the 3D city model spec and preparing data
- The TouchDesigner network uses PLATEAU’s published sample
2.2 Final piece
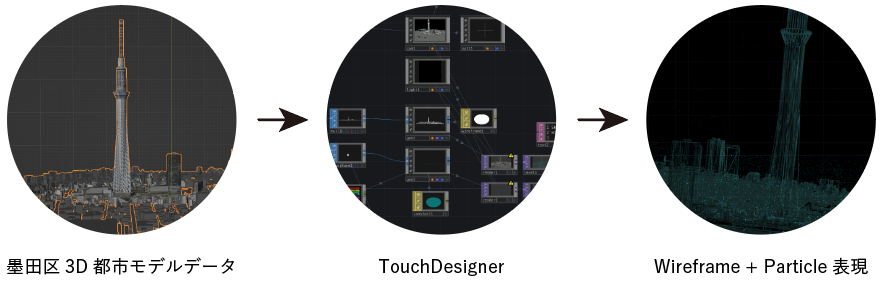
Based on PLATEAU’s official TouchDesigner tutorial, with Sumida-ku model + replaced music + color tweaks:
- Reference: PLATEAU TouchDesigner learning
PLATEAU’s official tutorial video:
Finished example (Sumida-ku version built in this exercise):
3. 3D City Model Data Spec
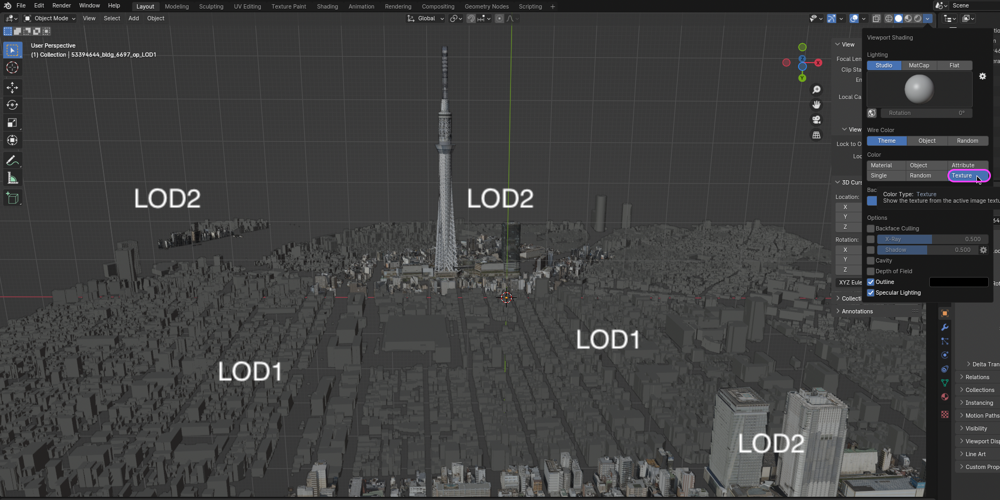
LOD (Level of Detail) is the spec for 3D city model fidelity. For buildings:
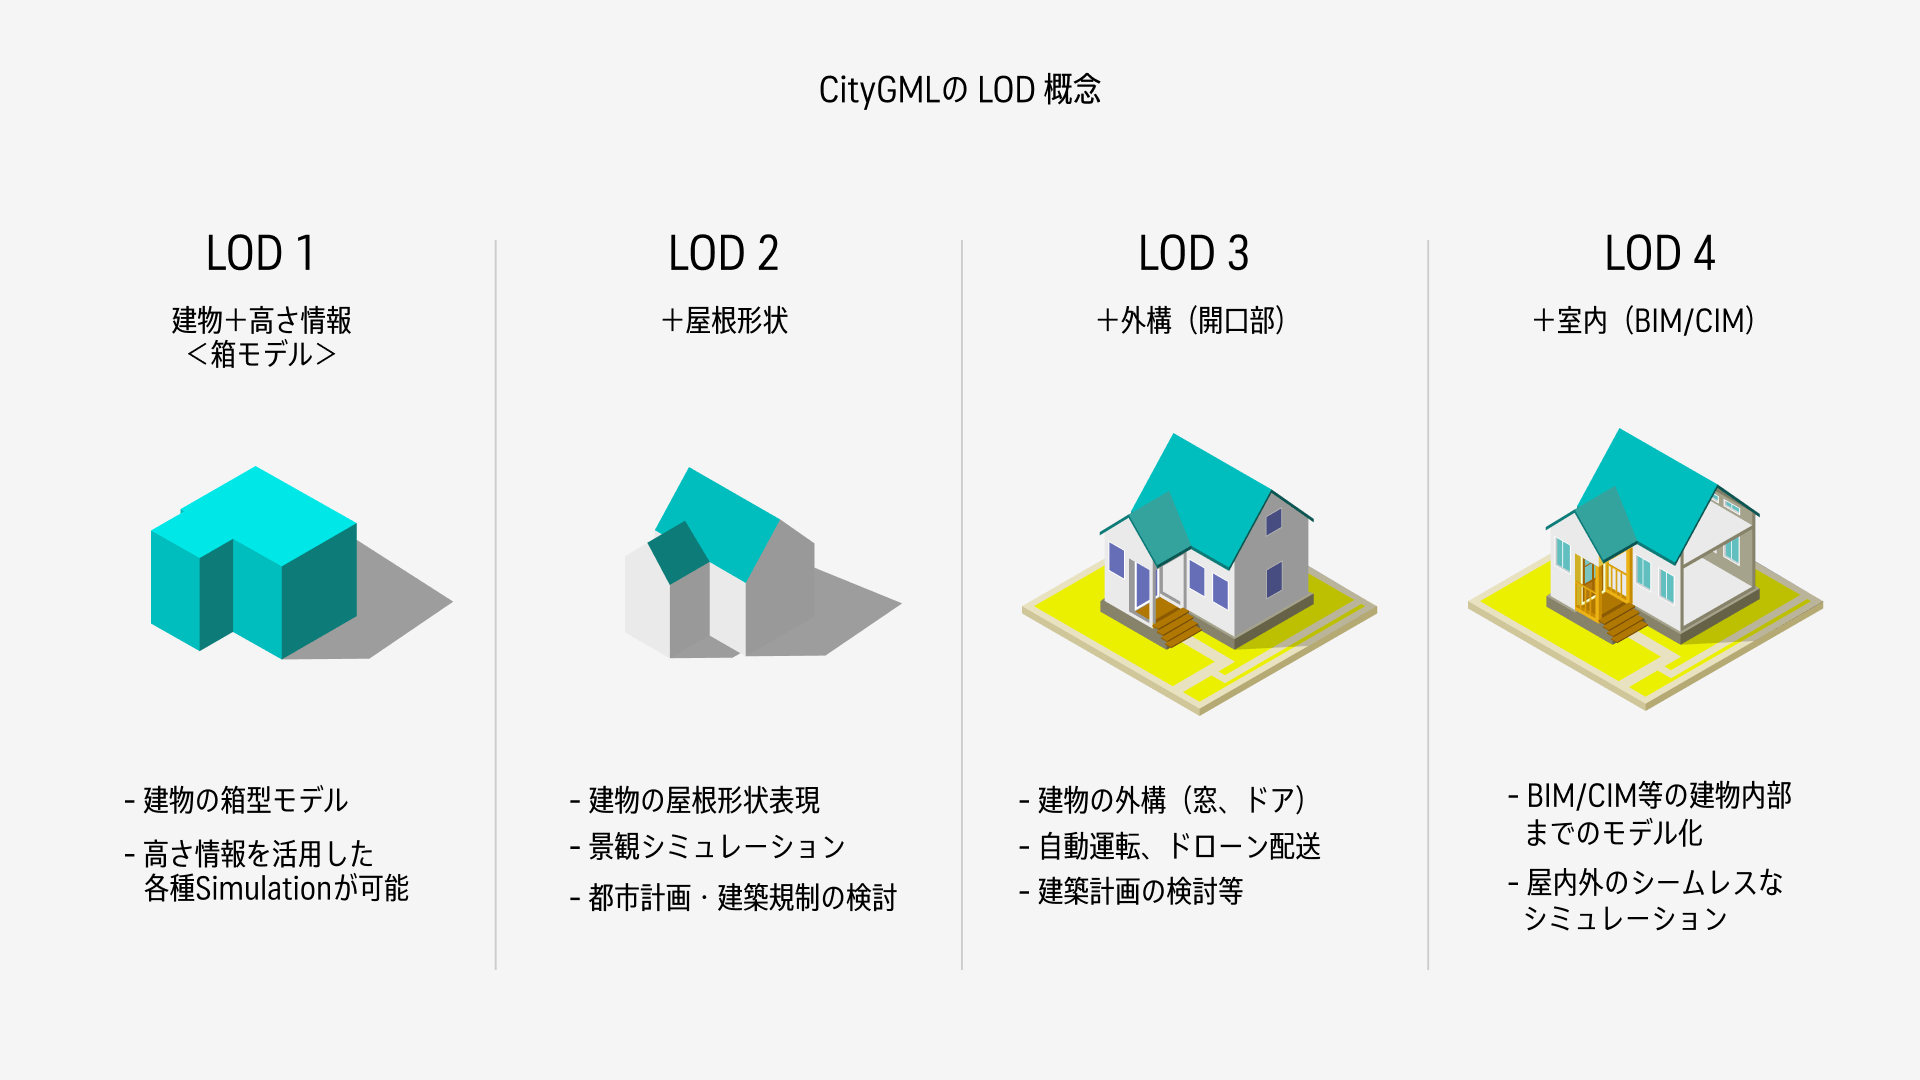
Most data on G空間情報センター is LOD1. Only some areas in major cities have LOD2 available.
References
Even the Sumida-ku data has LOD2 only for Skytree and some buildings; the rest is LOD1:
4. Preparing Sumida-ku 3D City Model Data
4.1 How the data is prepared (overview)
G-Spatial Information Center publishes CityGML, not OBJ / FBX. CityGML must be converted to OBJ using a Unity SDK before use.
We distribute pre-converted OBJ data for this exercise.
CityGML → OBJ conversion (via PLATEAU SDK for Unity) will be covered in a separate page (coming soon).
4.2 Distribution of Sumida-ku OBJ data
Unzip sumidaku_complete20240424.zip (124MB).
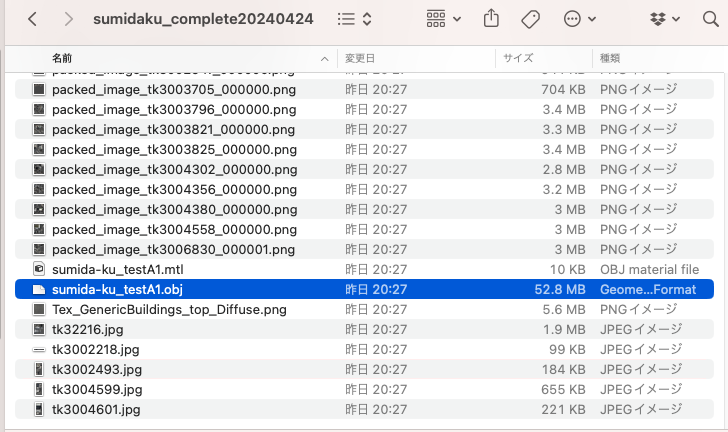
The folder sumidaku_complete20240424 contains 42 files —
sumida-ku_testA1.obj is the object data:
4.3 Optional: verify in Blender
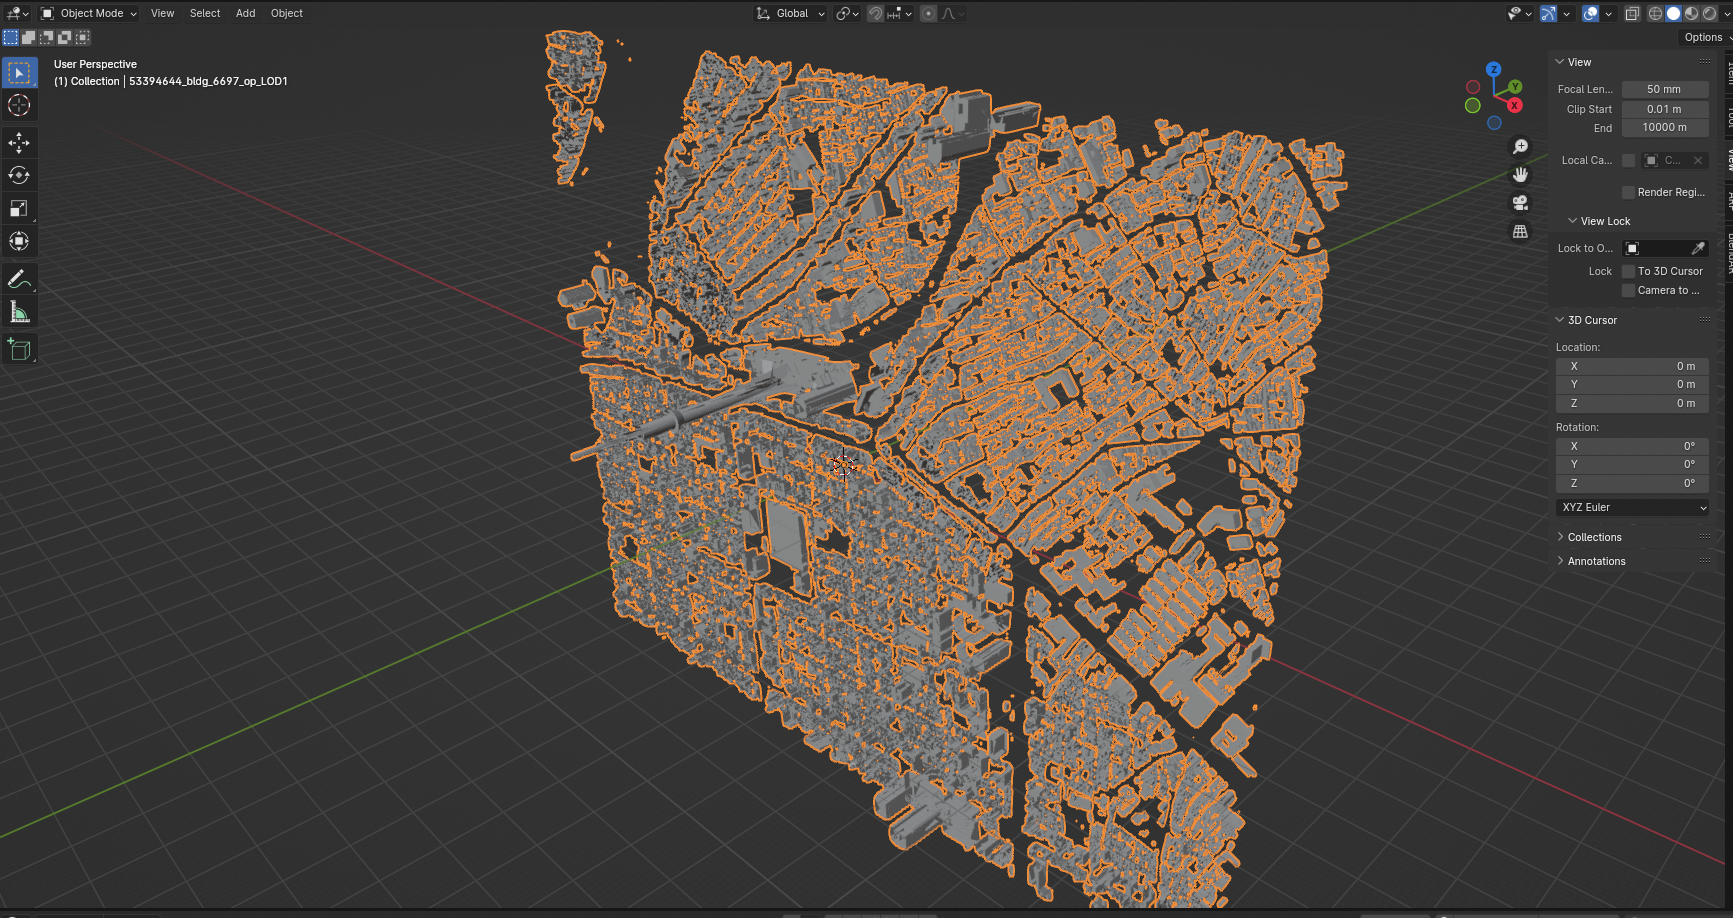
Open sumida-ku_testA1.obj in Blender:
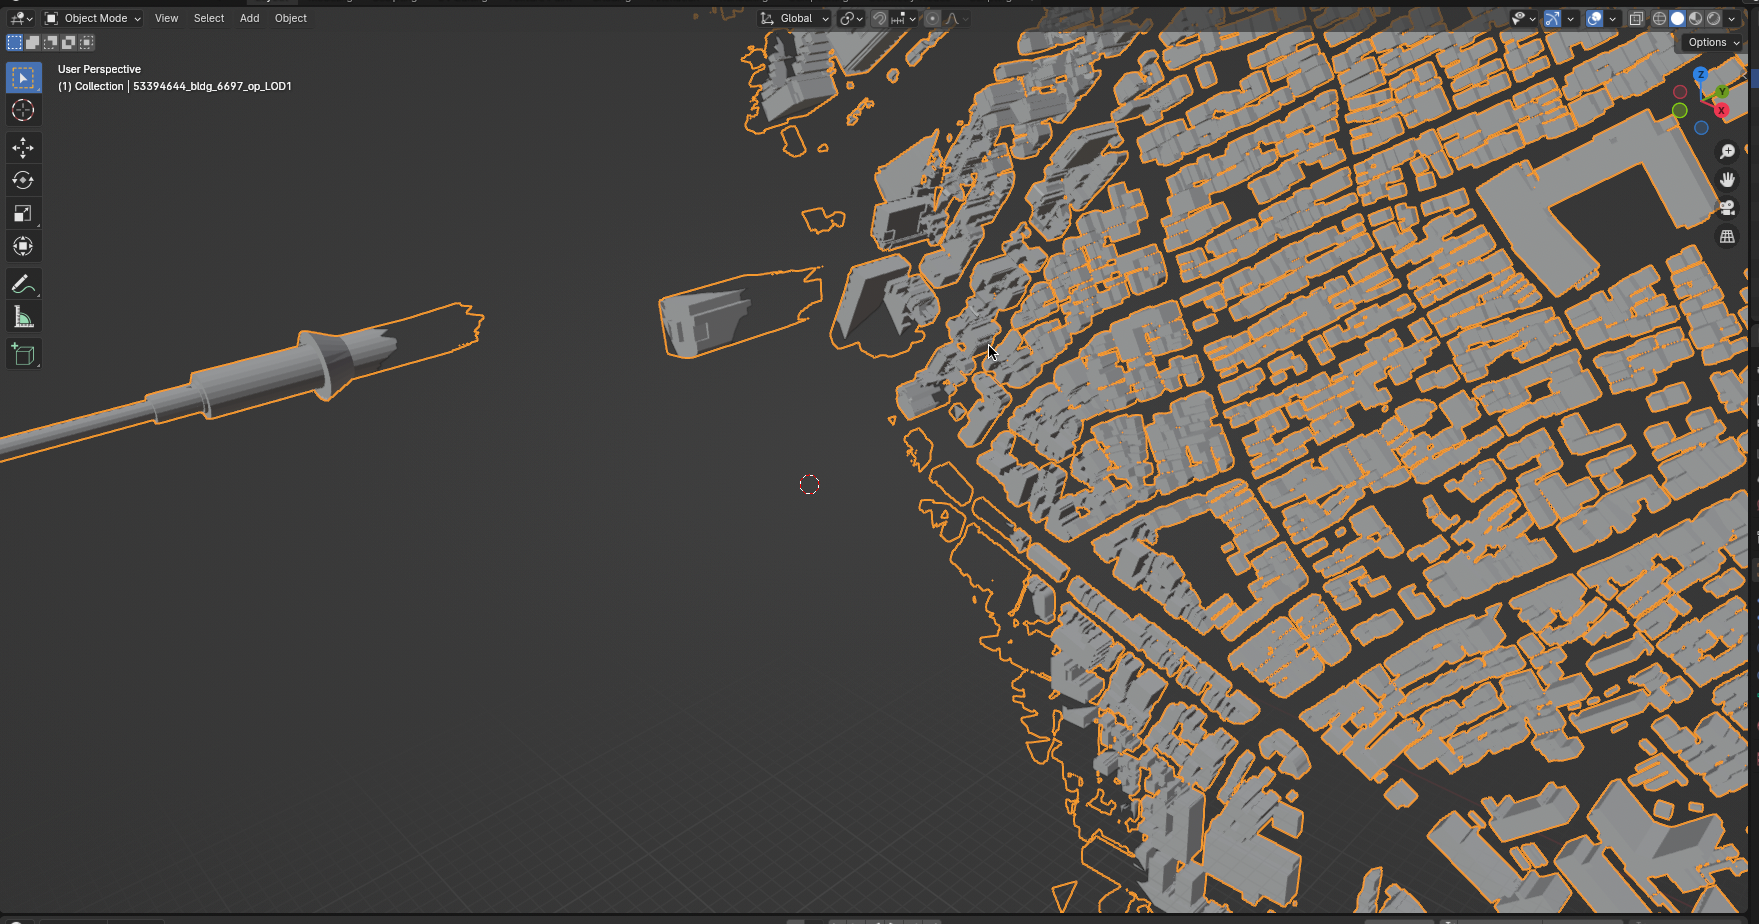
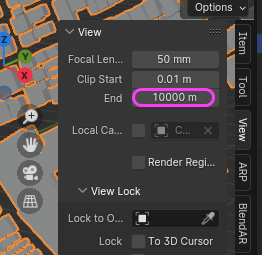
Without adjustment the object is too large to see. Open the sidebar
with N, change View tab > End to 10000m:
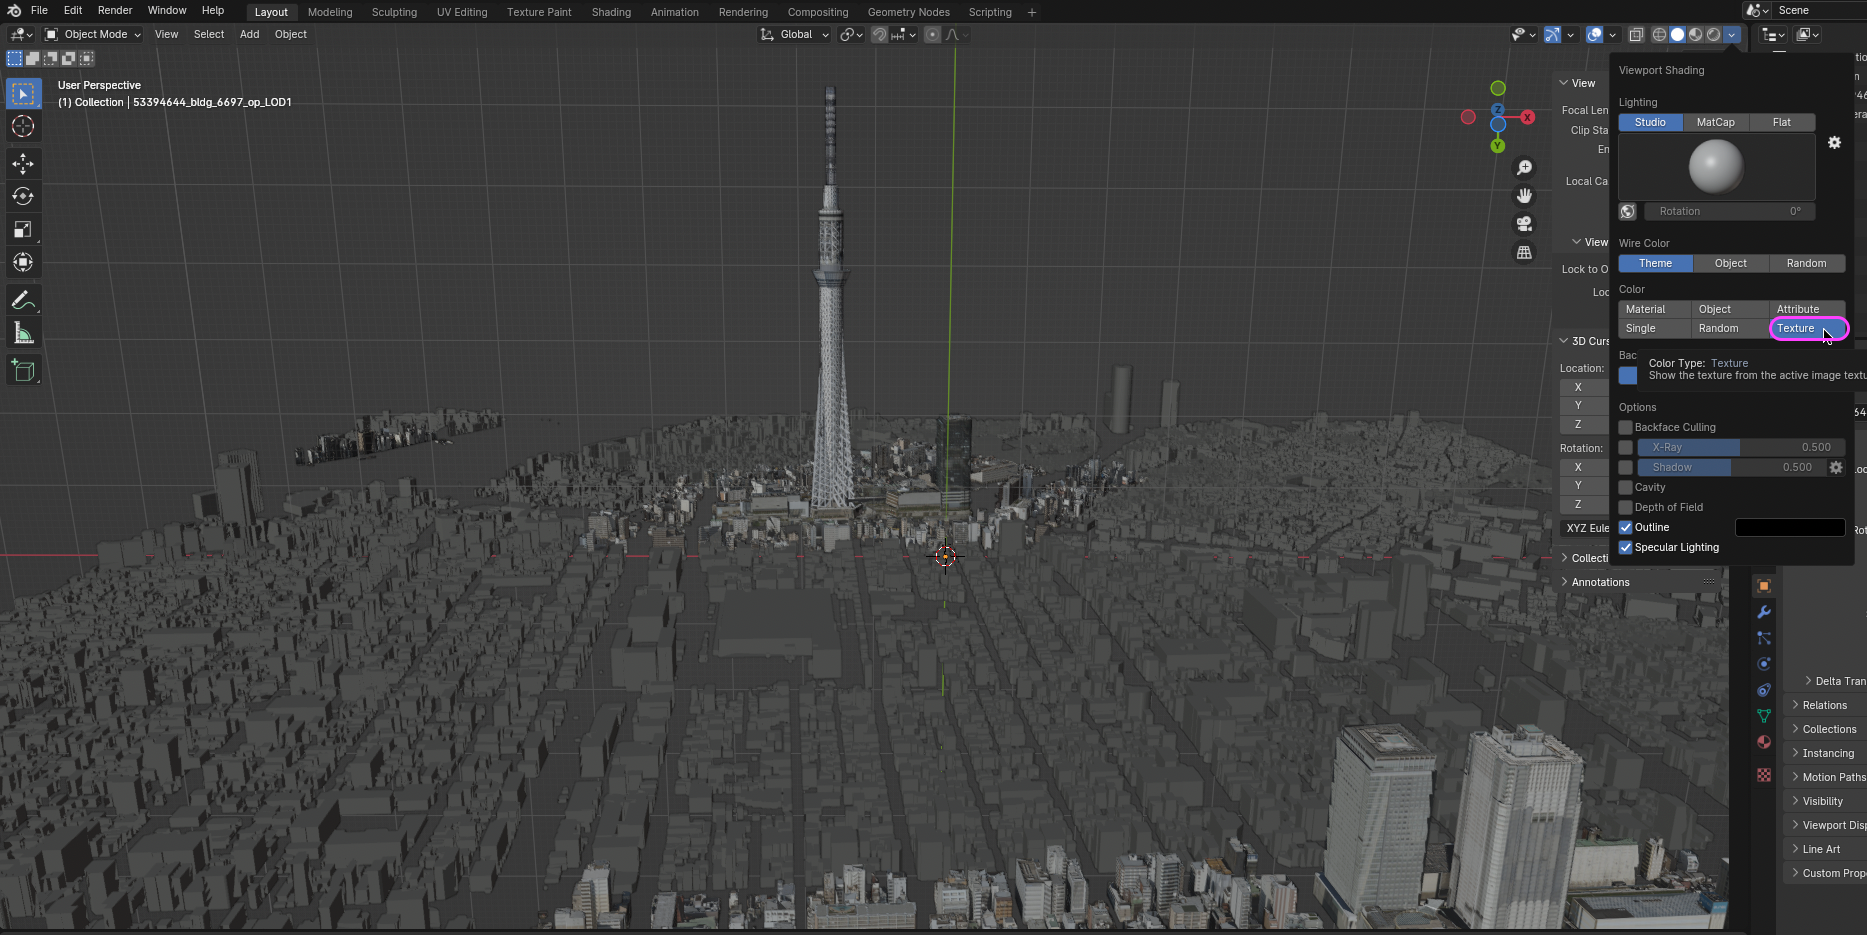
Keep Viewport Shading on Solid, switch Color: Texture:
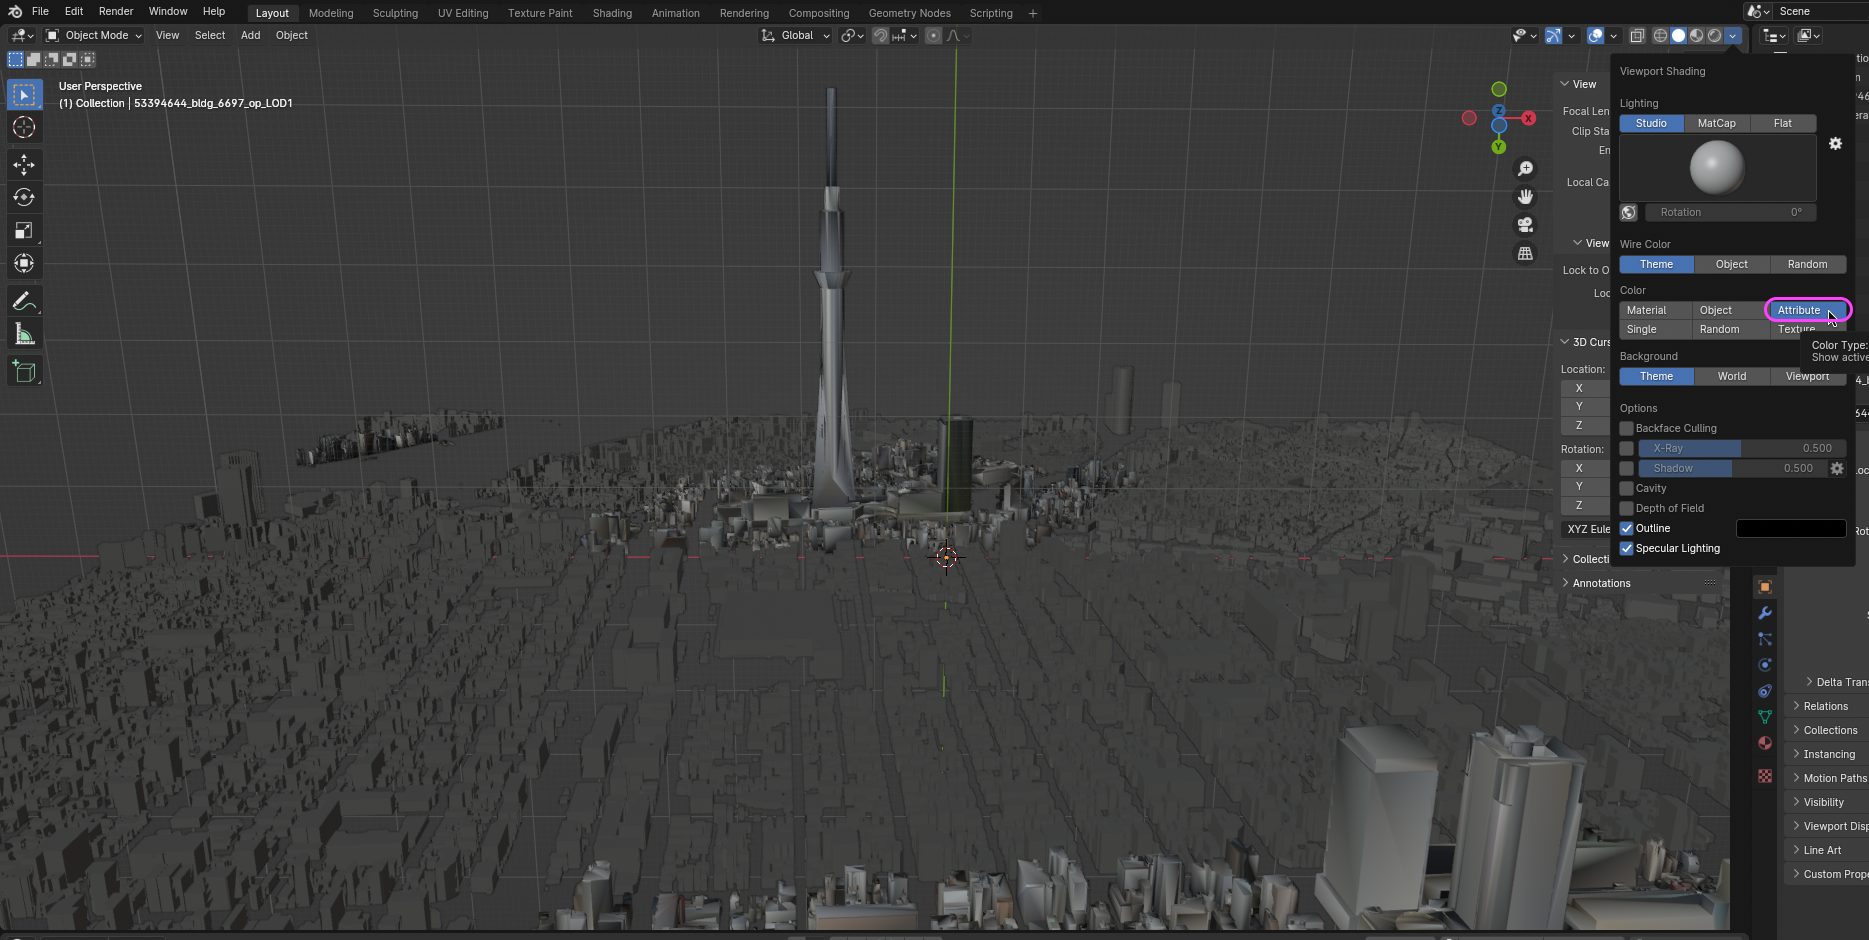
Switch Color: Attributes. We won’t use the model’s color / textures here, but Color Attributes can drive particle colors in TouchDesigner:
5. Download Music
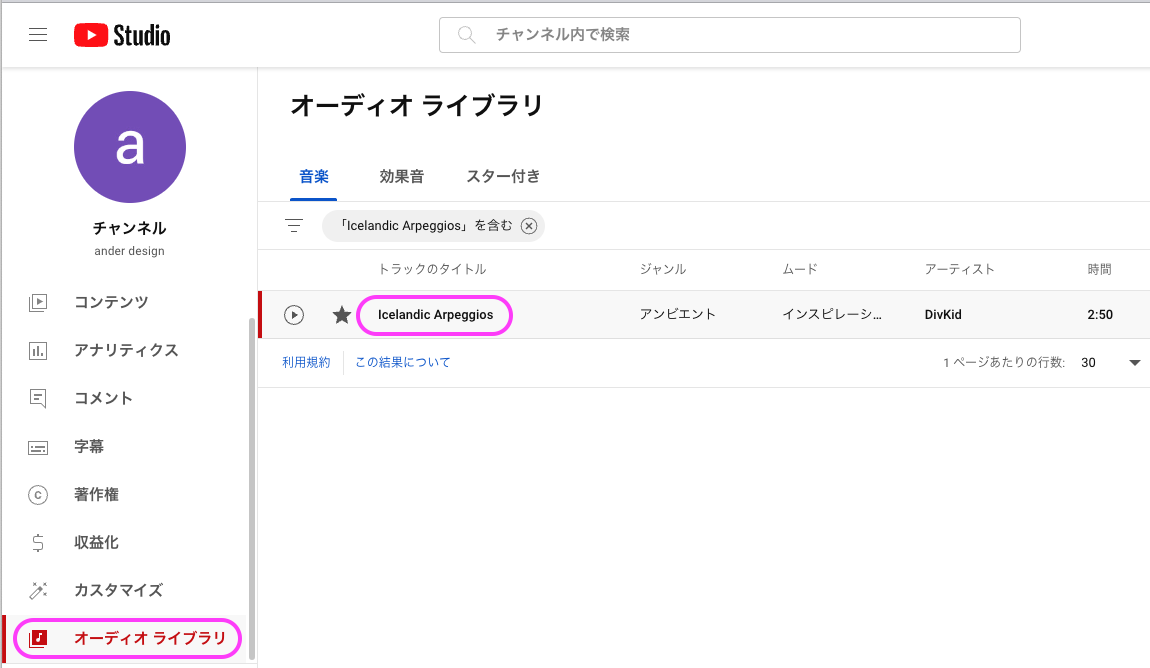
From YouTube Studio’s audio library (Google account required), download Icelandic Arpeggios - DivKid.mp3:
6. Download PLATEAU Tutorial Data
From GitHub, download TD-PLATEAU-ParticleSample-main.zip:
https://github.com/hisahayashi/TD-PLATEAU-ParticleSample
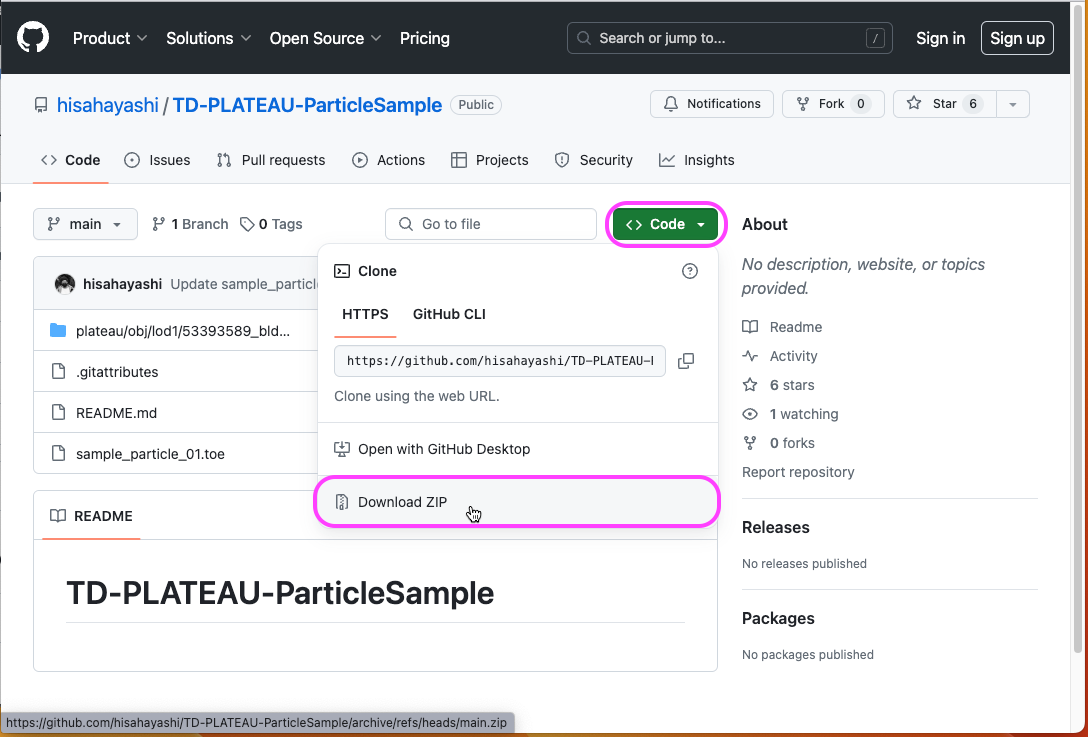
Unzip:
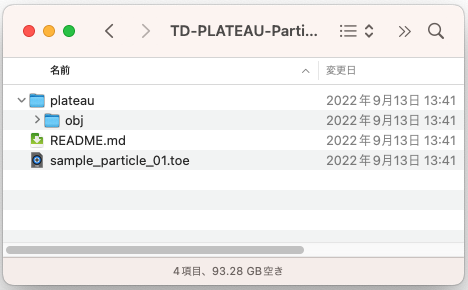
Move into the TD-PLATEAU-ParticleSample-main folder:
sumidaku_complete20240424folderIcelandic Arpeggios - DivKid.mp3
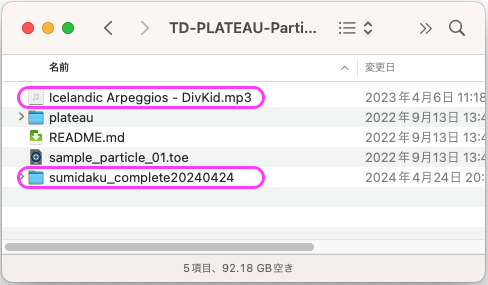
7. Visualizing in TouchDesigner
7.1 Intro
For full tutorial details, see PLATEAU’s official TouchDesigner explanation (Japanese). This page only covers model / music swap and color edits.
7.2 Launch the sample project
Double-click sample_particle_01.toe:
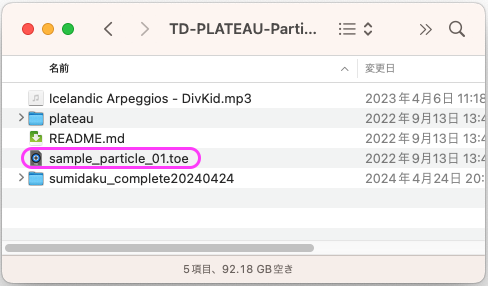
The fullscreen Perform Mode appears — press ESC:
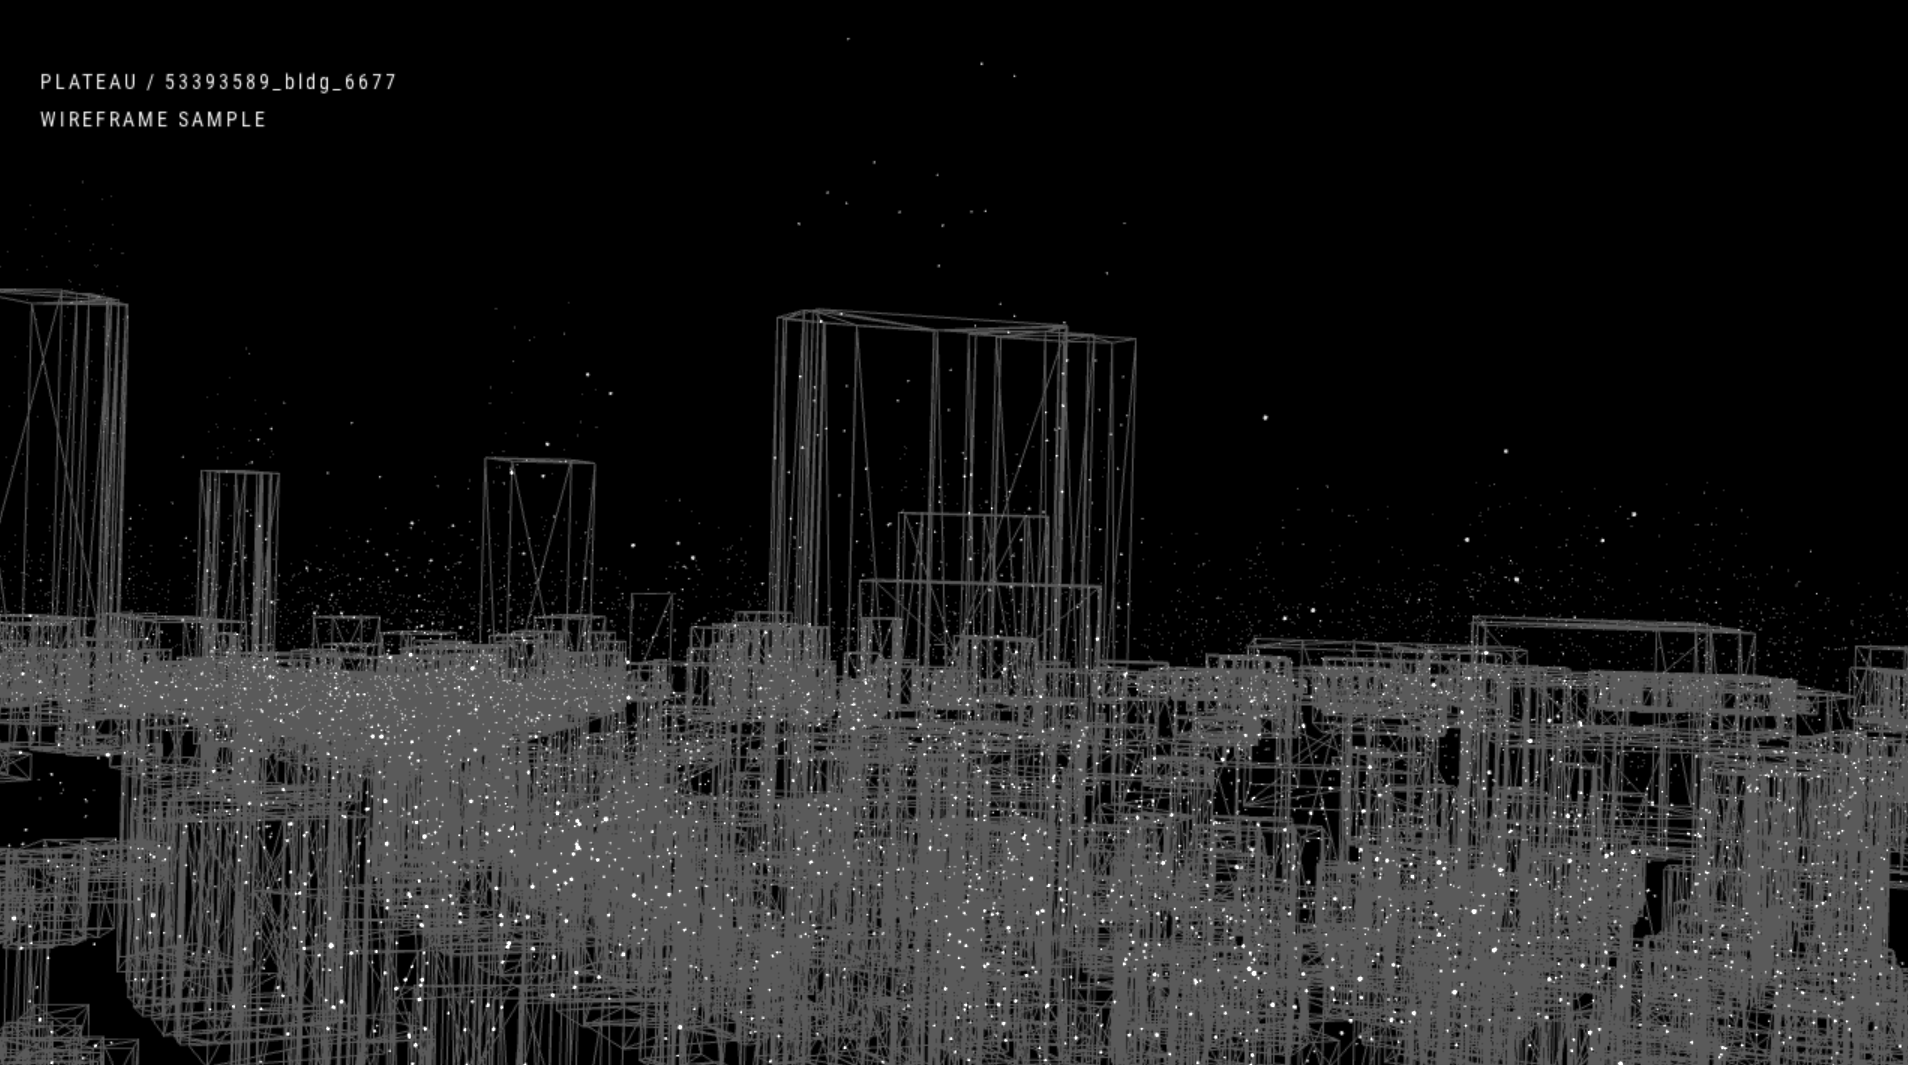
Press H for full network view:
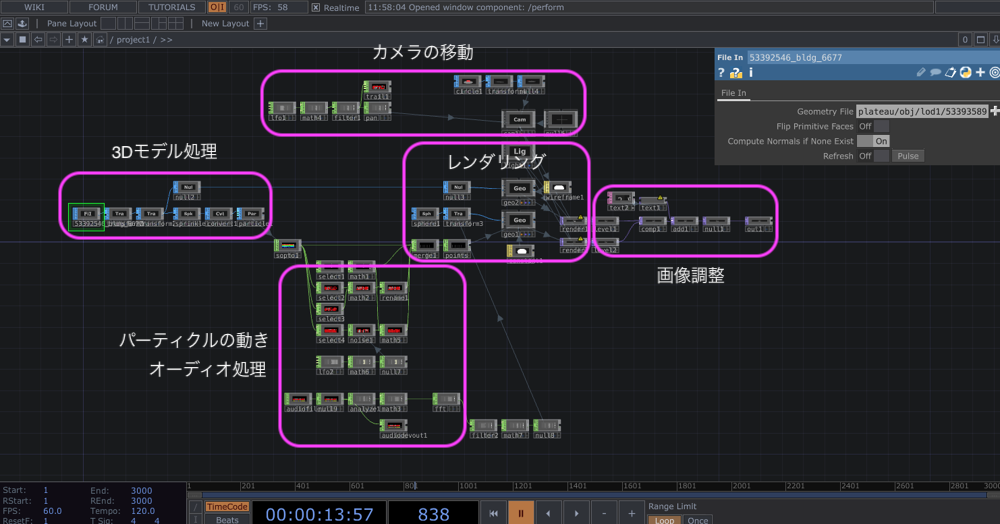
7.3 Background display
Stop Timeline playback if needed for editing.
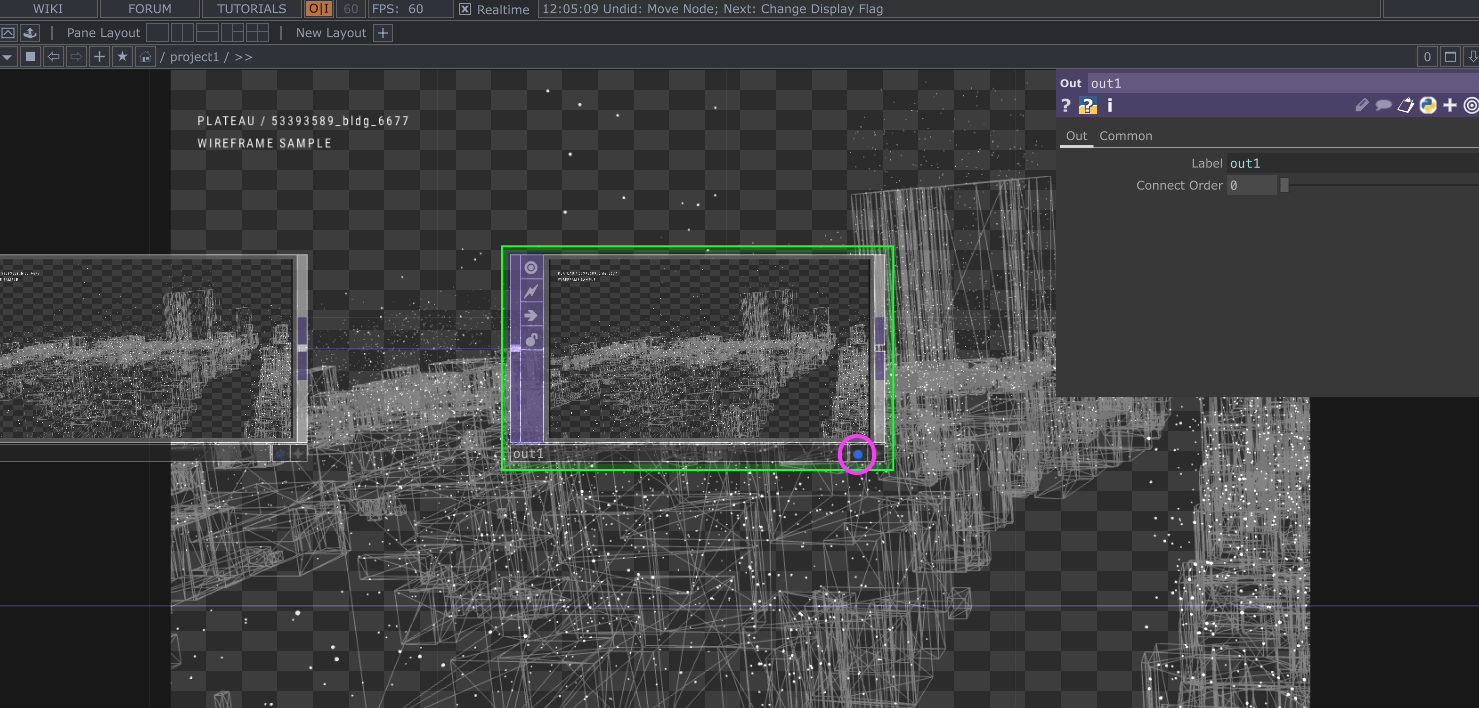
Turn on the Display button on the rightmost Out TOP (out1):
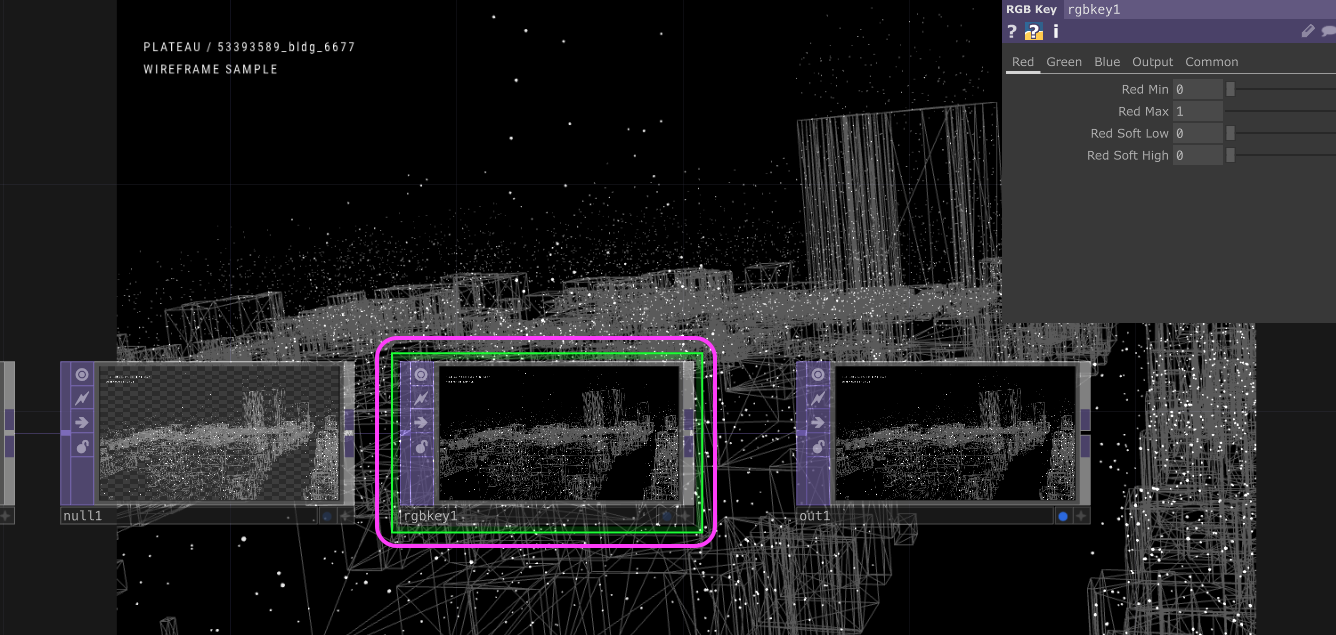
Insert RGB Key TOP between Null TOP (null1) and Out TOP (out1):
7.4 Swap the music
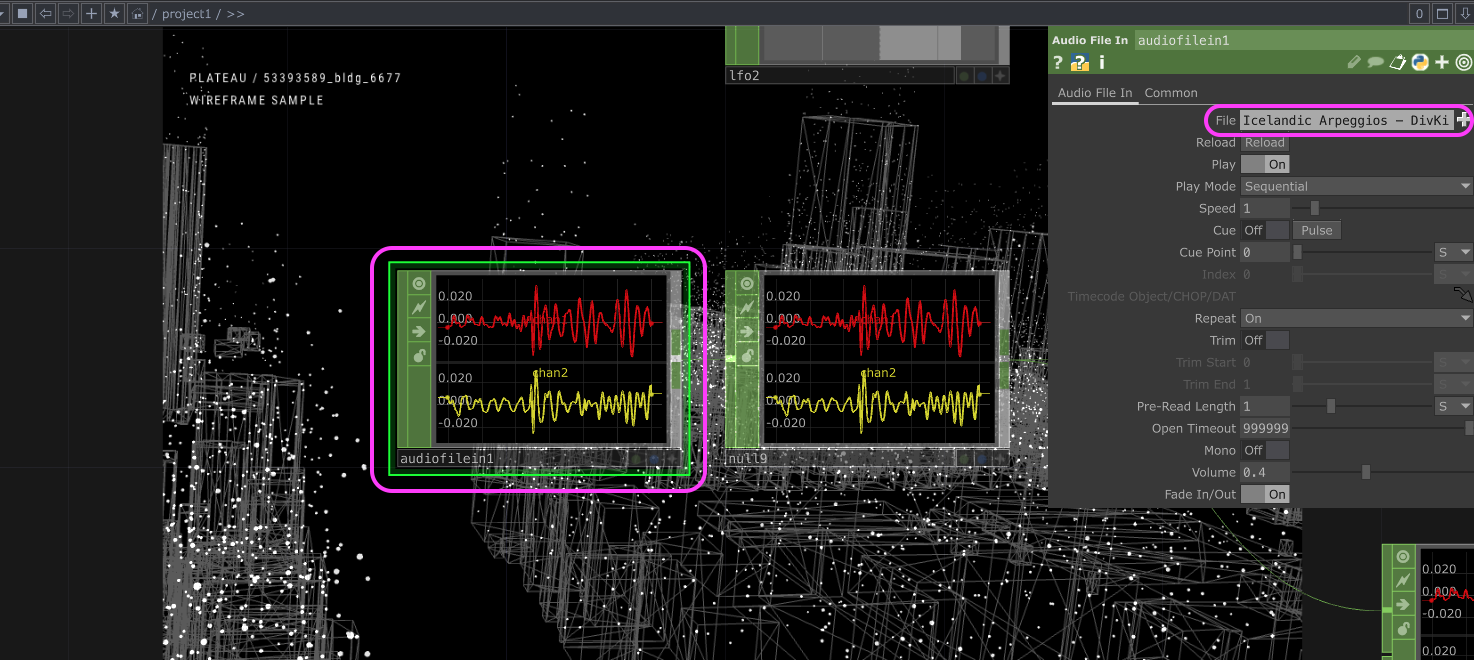
In Audio File In CHOP parameters > File, swap to
Icelandic Arpeggios - DivKid.mp3:
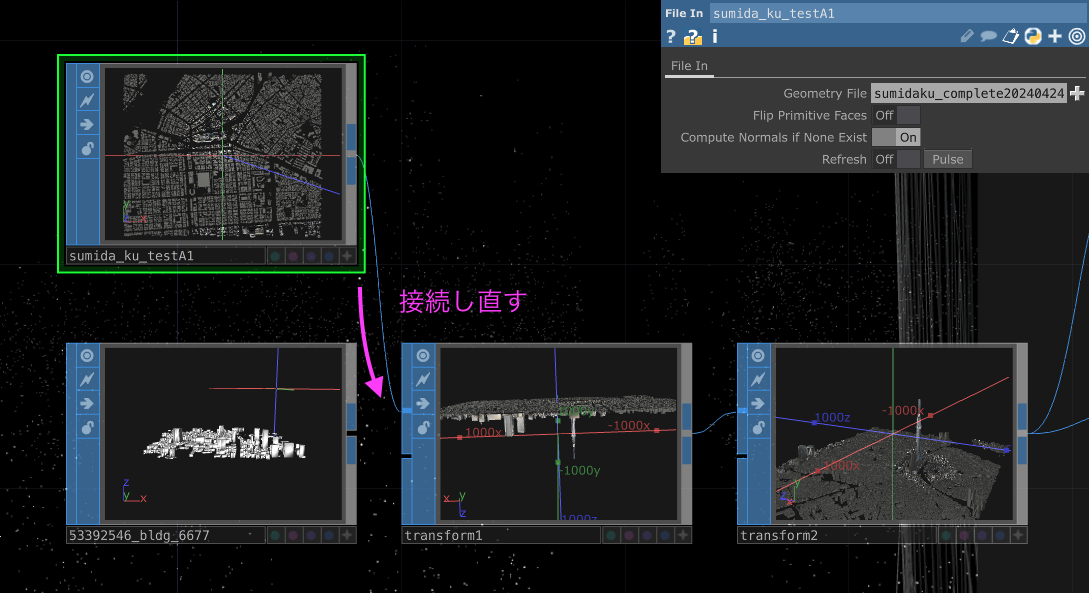
7.5 Swap the Sumida-ku model
The leftmost File In SOP loads the model:
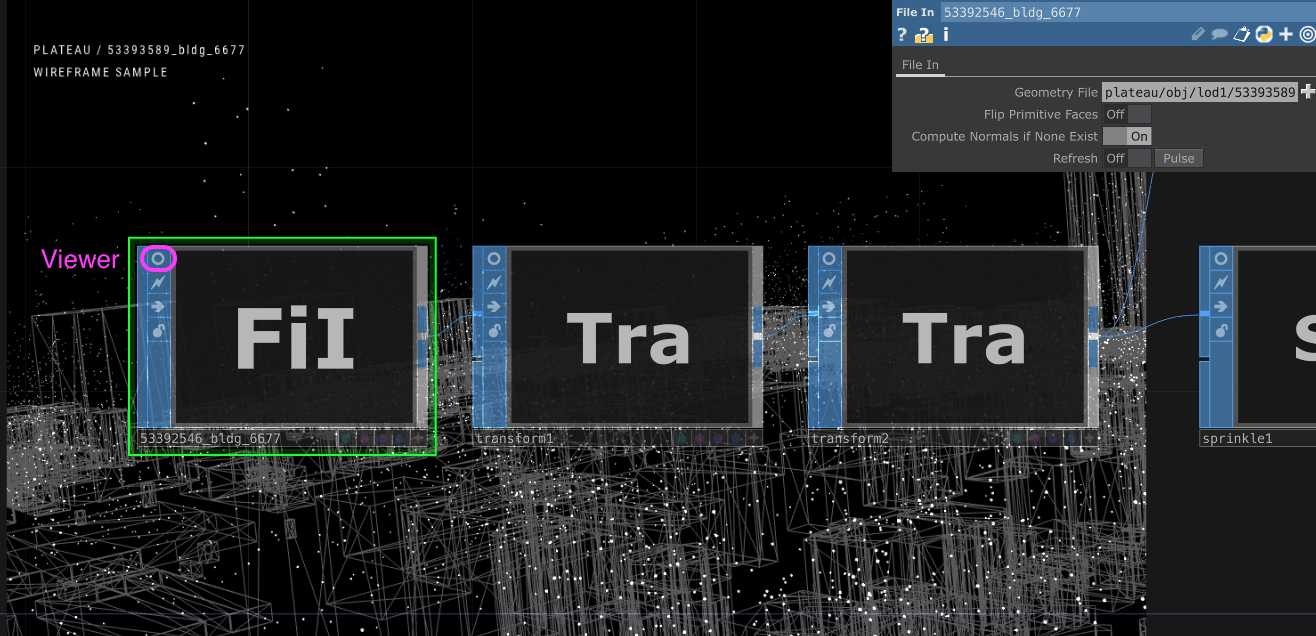
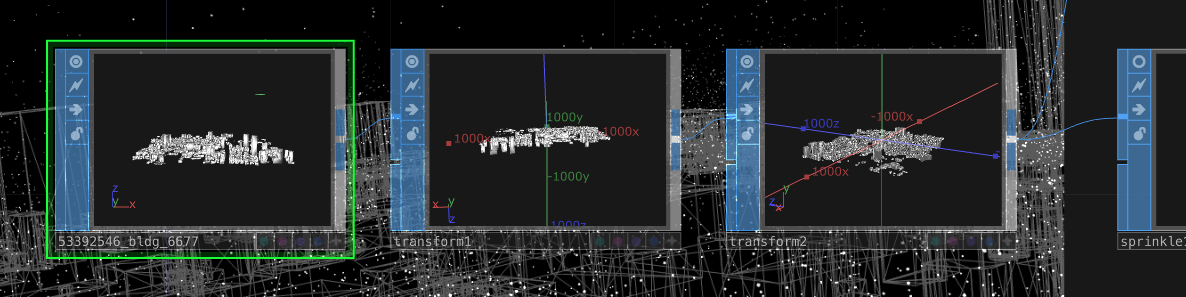
SOP / COMP are heavy — use the Viewer button to preview as needed:
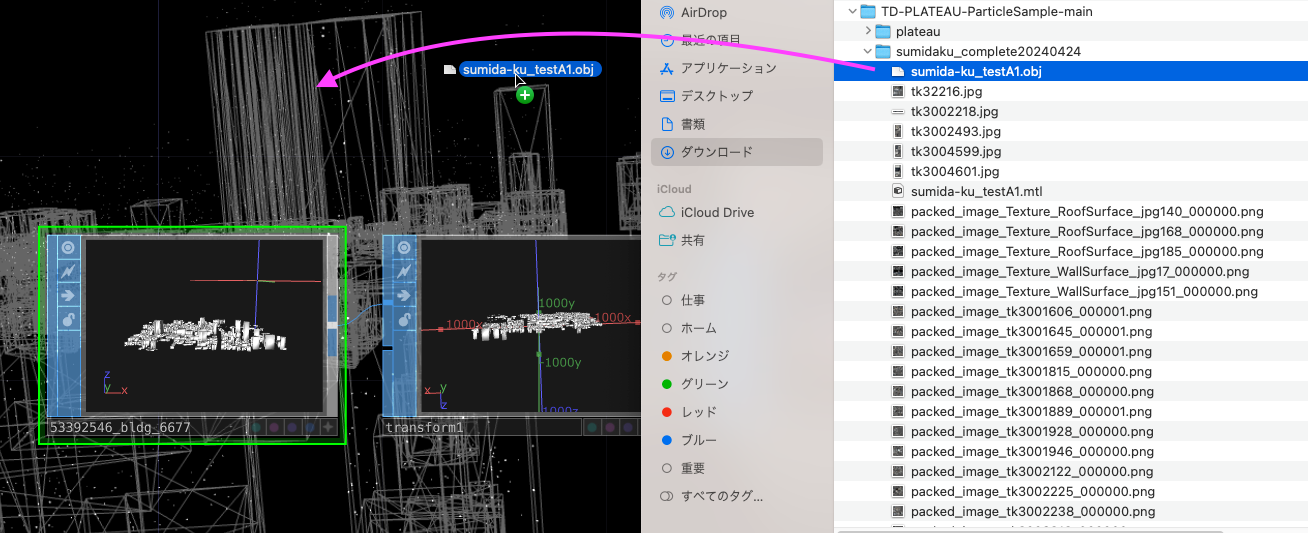
Drag sumida-ku_testA1.obj (inside sumidaku_complete20240424) into
TouchDesigner:
Reroute File In SOP (sumida-ku_testA1) → Transform SOP (transform1):
7.6 Scale and position
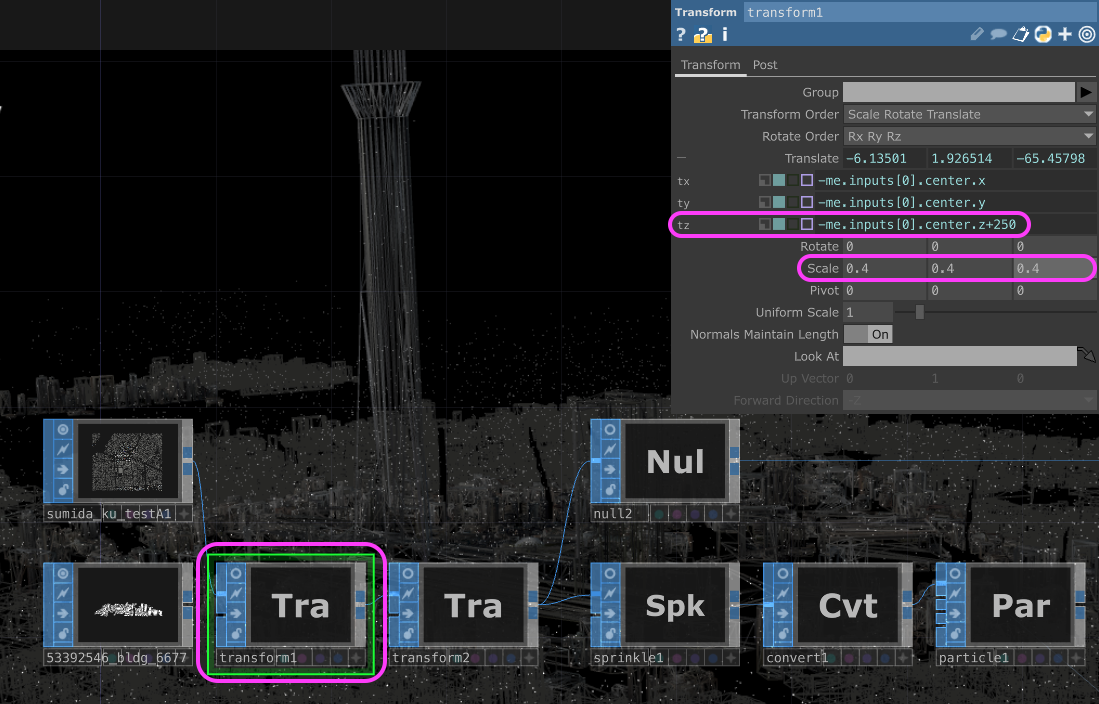
Transform SOP (transform1):
- tz: +250
- Scale: 0.4, 0.4, 0.4
7.7 Wireframe color
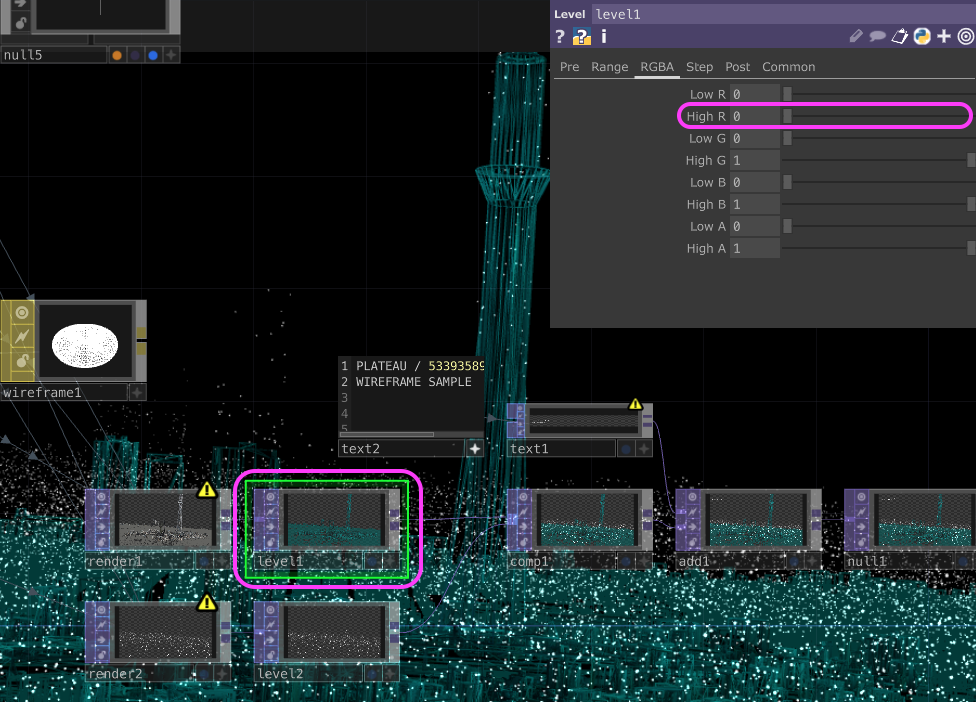
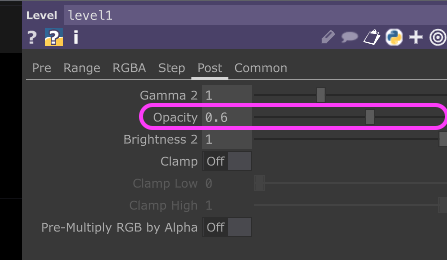
Level TOP (level1):
- RGBA tab > High R: 0
- Post tab > Opacity: 0.6
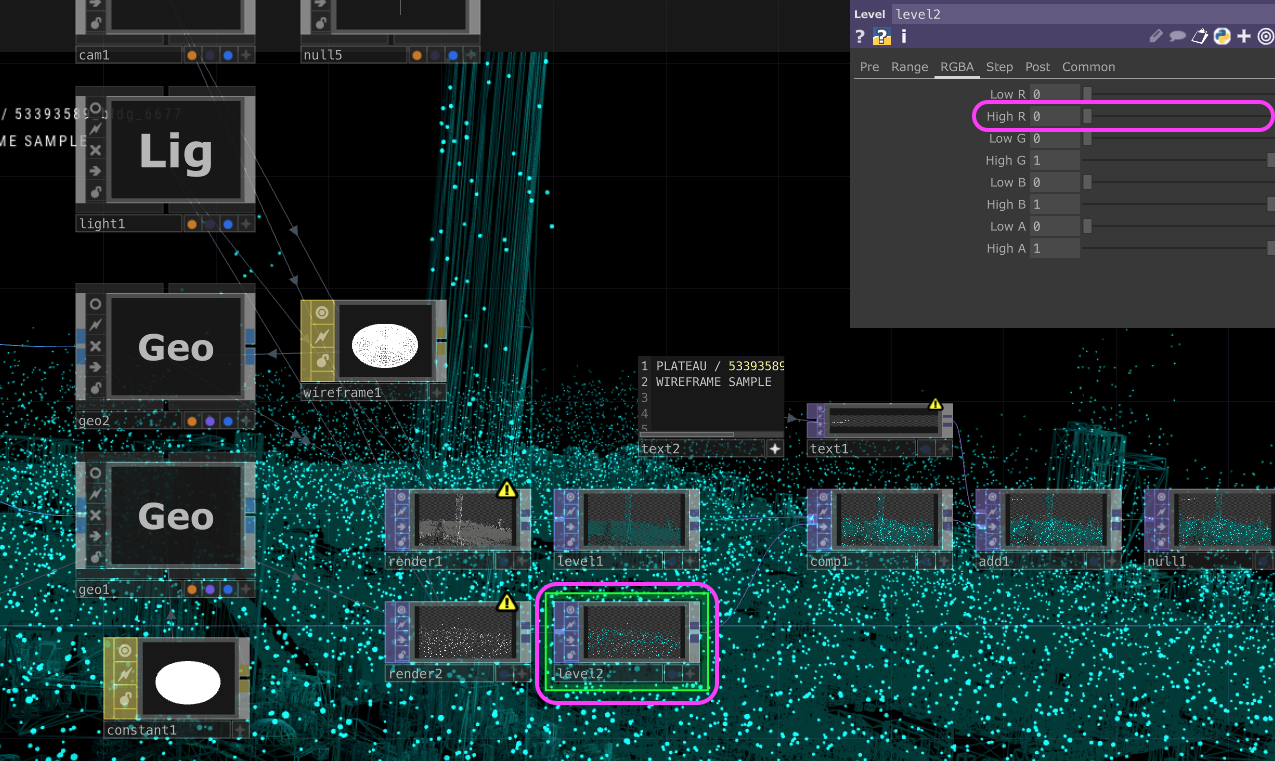
7.8 Particle color
Level TOP (level2):
- RGBA tab > High R: 0
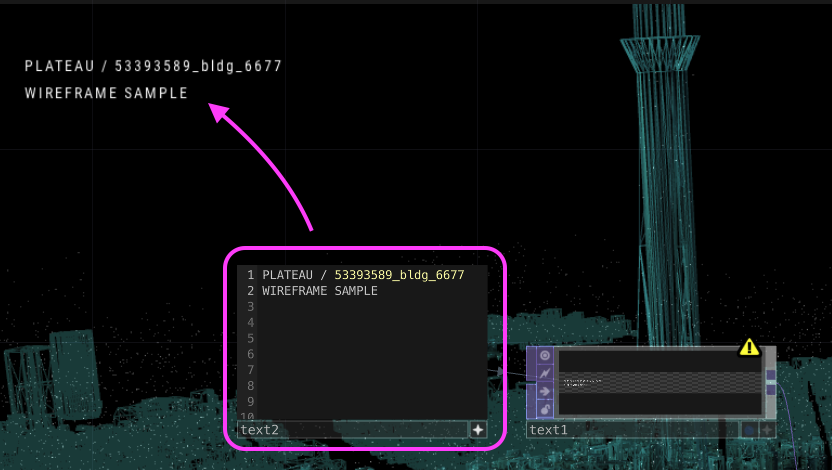
7.9 Edit upper-left text
Edit the active Text DAT (text2):
8. Exporting a Movie (for submission)
Movie File Out TOP exists but is too heavy for real-time
rendering — frame drops occur. Use Export instead:
Steps
File > Export- Input > TOP Video: drag Out TOP in
- Input > CHOP Audio: drag Audio File In CHOP in
- Resolution: 1280 × 720
- Movie FPS: 30
- Codec: MPEG 4 (Part 2)
- End Frame: 500 (short is fine for assignment submission)
- Click the folder icon next to Out > Filename
- Click Start under Render Movie
Note:
Movie File Out TOPis the right tool for real-time capture of external data (camera, sensors).
9. Variations
9.1 Hino Campus scan model
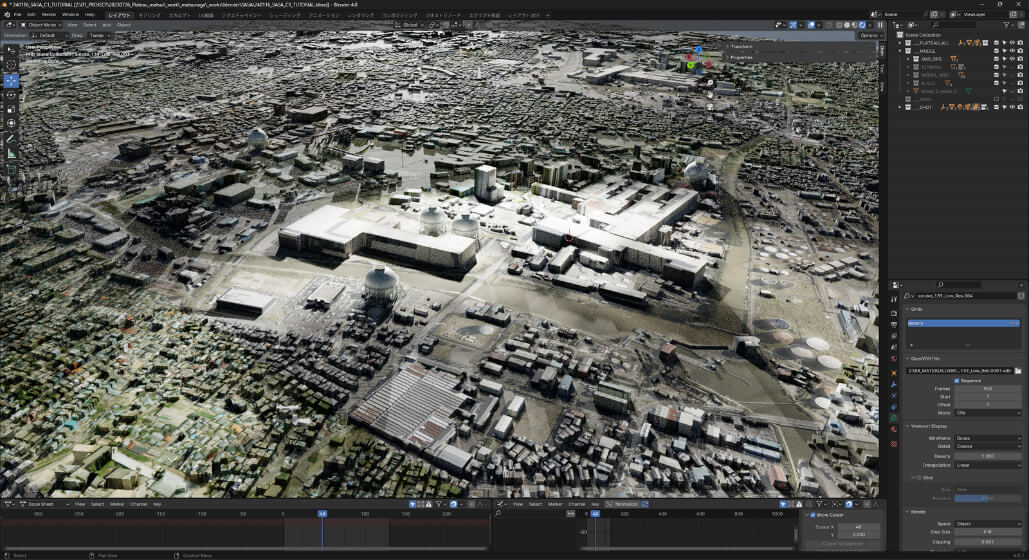
Above, polygon color (Color Attributes) drives particle color. Settings:
| Node | Setting |
|---|---|
| Sprinkle SOP (sprinkle1) | Surface Attributes: ON |
| SOP to CHOP (sopto1) | Color RGB: ON |
| Geometry COMP (geo1) | Instance 2 tab: R: cr, G: cg, B: cb |
9.2 Human body scan
Swap to a human body scan or other geometry for endless visual variations:
9.3 Blender-based city video production
PLATEAU also publishes Blender-based video production tutorials:
10. Related Pages
- Optical Flow + ParticlesGPU — particle basics